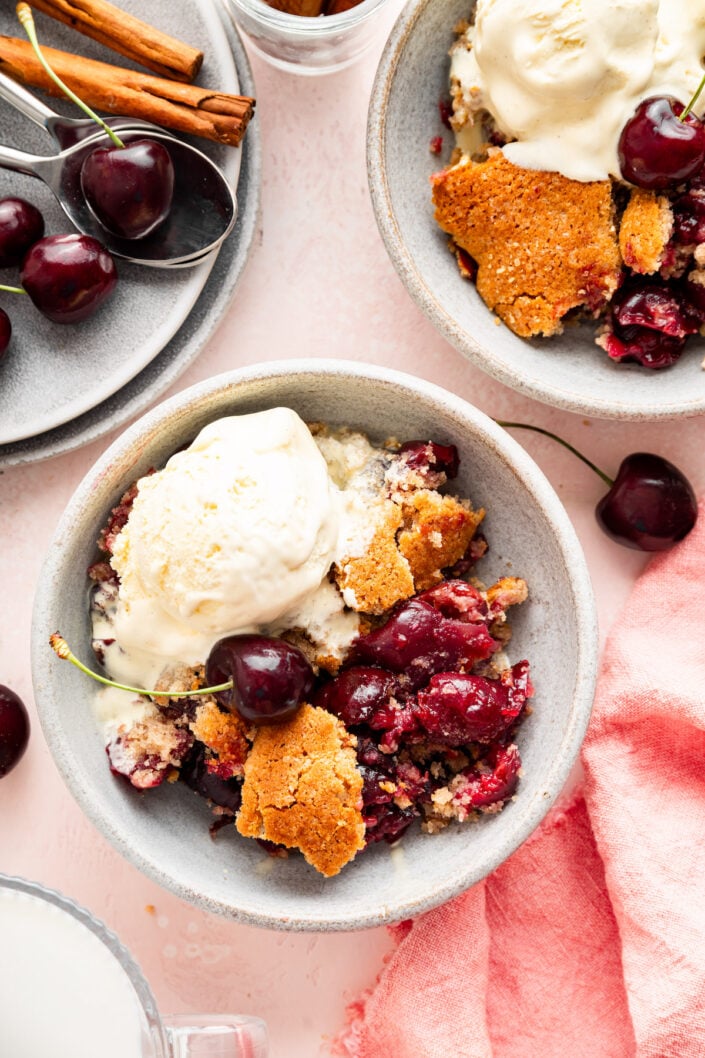
I’m not much of a baker, so I’m always drawn to desserts that are simple, forgiving, and don’t require a lot of time in the kitchen. This cherry cobbler has become a favorite because it’s so easy to throw together, and the combination of juicy cherries and golden, buttery topping is hard to resist. It’s the perfect summer dessert I love making when I want something homemade without having to fuss over it, that I know SA and the girls will help me devour.
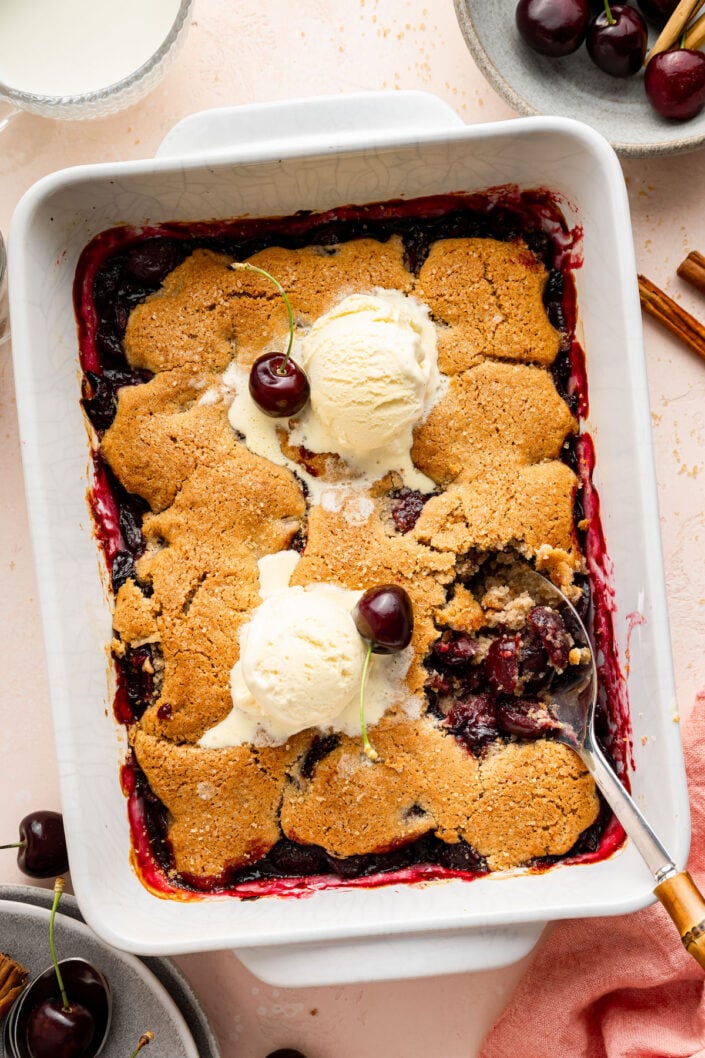
Why You Will Love This Cherry Cobbler
- When fresh cherries are in season, this is your foolproof recipe right here!
- No fancy baking skills required. It’s simple, forgiving, and hard to mess up.
- This is the perfect recipe for family dinners, barbecues, and casual get-togethers.
- The crisp edges and tender center are the perfect match.
Ingredients You Will Need
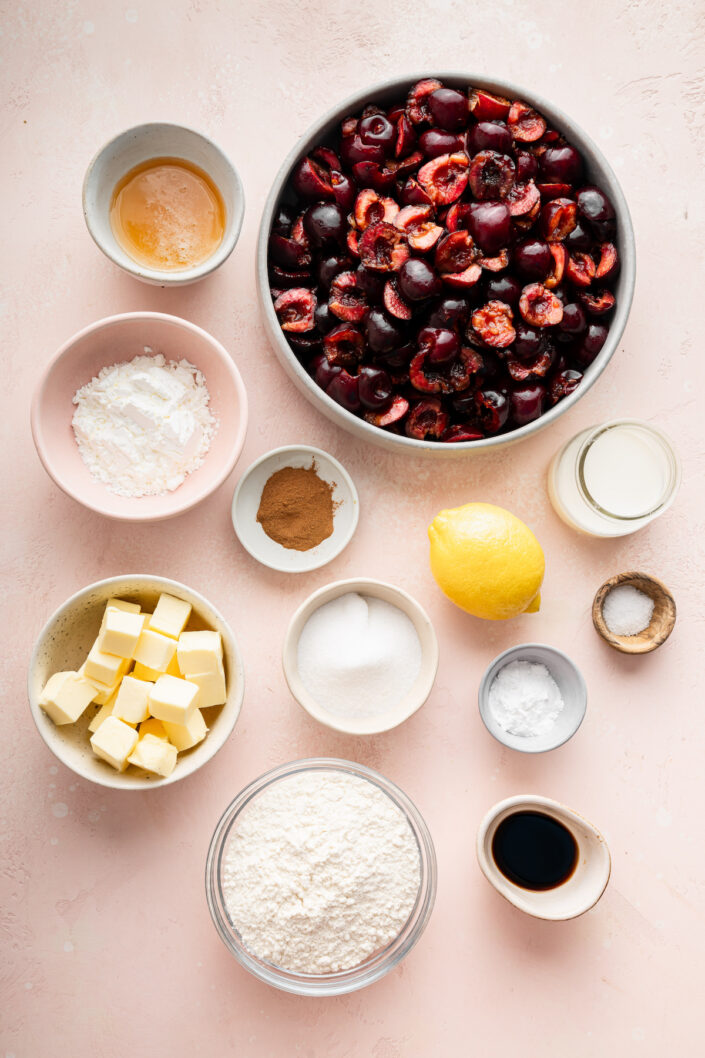
- Fresh Cherries: The star of the show for this fresh cherry cobbler! 10 out of 10 recommend fresh over frozen.
- Sweeteners: Honey and white sugar give a bit more sweetness, but you don’t need much because of the sweet cherries. You can also use maple syrup or brown sugar as substitutes.
- Cornstarch: Used to give a thick, creamy-like cherry filling. You can also use tapioca starch or arrowroot powder.
- Lemon Juice: A little brightness to balance the sweetness. You can also use orange juice.
- Vanilla Extract: I recommend pure vanilla over imitation vanilla, but imitation will still work. If you love an almond flavor, use a splash of almond extract.
- Flour: All-purpose flour is the main ingredient to give you a beautiful golden topping.
- Baking Powder: This helps the flour puff up and give a light and tender texture.
- Cinnamon: I mean, need I say more than cinnamon is just a must?
- Butter: Adds rich, buttery flavor while creating a tender, slightly crisp topping as it melts into the flour during baking.
- Milk: Warm whole milk will bring the topping to life, making it a smooth, tender batter.
Kitchen Tools You Will Need
- 9×13 Baking Dish
- Large Mixing Bowl
- Wooden Spoon or Spatula
- Pastry Cutter

Tips for the best cherry Cobbler
- Don’t have a cherry pitter? A chopstick or a sturdy straw surprisingly well. Place the cherry stem-side up over the opening of a sturdy bottle, then push the chopstick or spoon handle straight through the cherry to pop the pit out the other side.
- Cold butter helps create a tender, slightly crisp topping as it melts during baking.
How to Make Cherry Cobbler
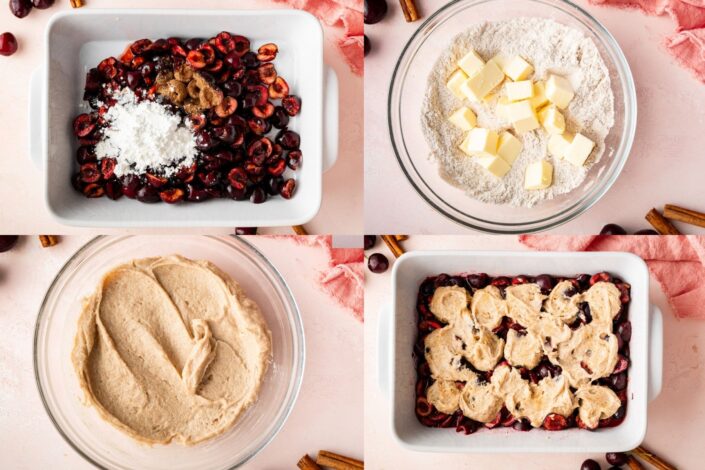
- Preheat the oven. To a baking dish, add all of the filling ingredients and stir until well combined. Transfer the baking dish to the oven to cook for 10 minutes while you prepare the topping.
- In a large mixing bowl, stir together the dry ingredients. Add in the butter and use a fork or pastry cutter to blend the butter into the flour mixture. Once well mixed, add the warm milk and stir until everything is mixed into a batter consistency.
- Remove the baking dish from the oven. Using a spoon, scoop out spoonfuls of the batter and place them evenly on top of the cherries throughout the baking dish. Use the back of a spoon to gently press down on the mounds of batter to flatten them slightly.
- Transfer to the oven to bake until the biscuit topping is cooked through and golden brown.
You can find the recipe card below for thorough instructions.
How to Modify
- Swap the cherries for your favorite fruit. A peach cobbler or blueberry cobbler would be especially delicious, but you can get creative.
- Add a crunchy topping and sprinkle sliced almonds, chopped pecans, or walnuts over the cobbler before baking.
- Frozen cherries work well when fresh cherries aren’t available. There’s no need to thaw them first, though you may need a little extra baking time.
- Do half flour and half oats if you love an oatmeal cobbler topping.
- If you have cherry trees and they are sour cherries, that will work just fine. You will probably want to increase the sugar a tad though, or mix with another fruit for added sweetness.
Dietary Customizations
- Gluten-Free: Substitute the all-purpose flour with a 1-to-1 gluten-free flour blend.
- Dairy-Free: Make it dairy-free and use plant-based butter and your favorite non-dairy milk.
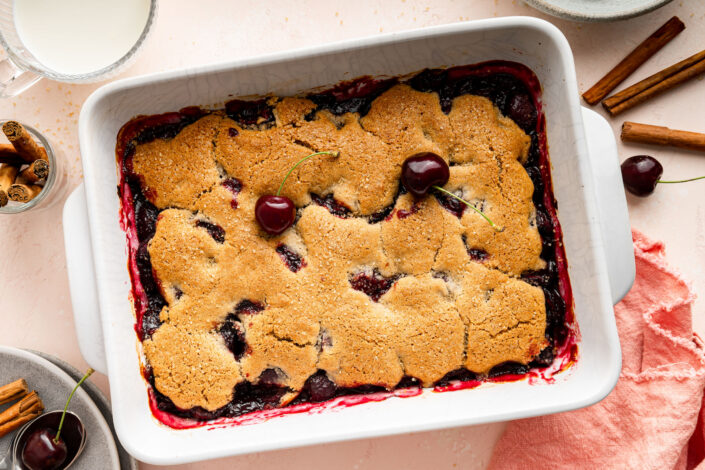
Serving Suggestions
A scoop of vanilla ice cream is the classic choice, but whipped cream, lightly sweetened Greek yogurt, or a drizzle of cream are also delicious.
Serve this delicious cherry cobbler for a brunch alongside Hawaiian Roll Sticky Cinnamon Rolls or Blueberry and Cream Cheese Croissant Casserole. Or if you want a savory addition, try Ham and Spinach Souffle, Christmas Morning Wife Saver, or Breakfast Tacos.
Common Questions
Yes! Frozen cherries work well and don’t need to be thawed first. You may need to add a few extra minutes to the baking time.
No. If you don’t have one, you can use the end of a chopstick, a sturdy straw, or the handle of a wooden spoon to push the pits out. Place them on a small bottom opening and push the pits through. It works like a charm.
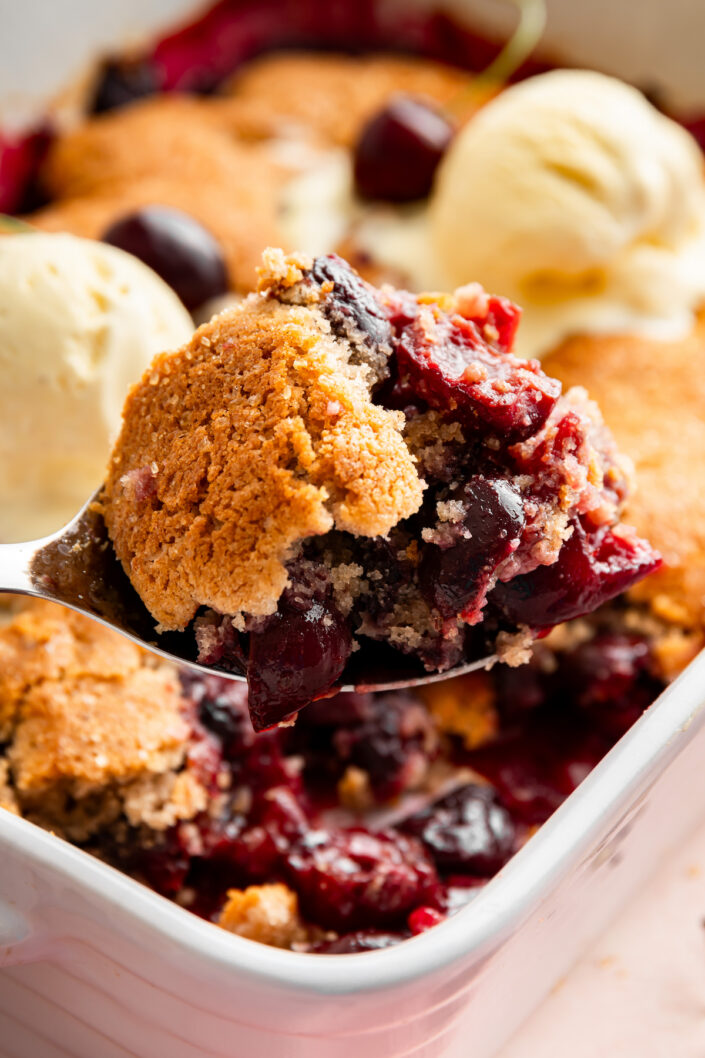
Absolutely! This is a super easy dessert to make several hours ahead and gently reheat it in the oven before serving. It’s best served warm with a scoop of ice cream.
Cover with plastic wrap or aluminum foil, or place in an airtight container and refrigerate the leftover cherry cobbler for up to 3–4 days. You can also store at room temperature for 2-3 days. Warm individual servings in the microwave or the entire cobbler in the oven.
More Fruit Desserts You Will Love
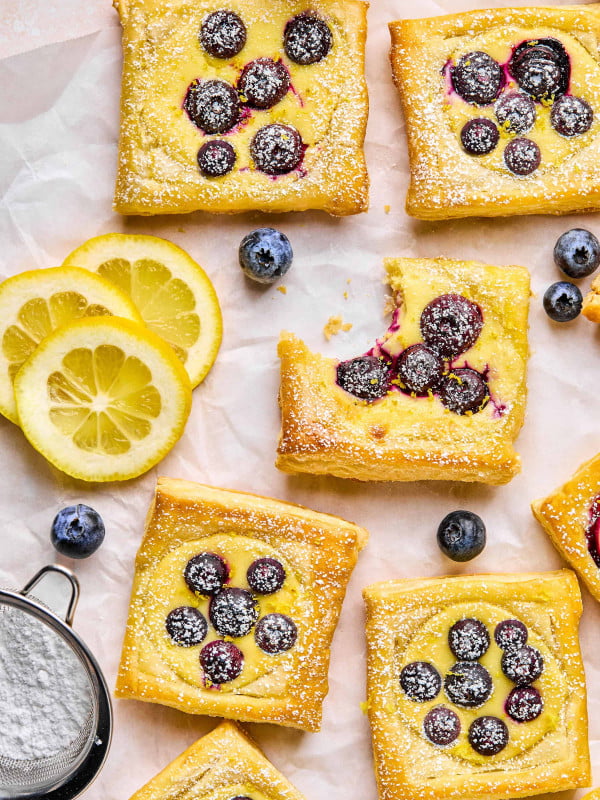
- Blueberry Lemon and Cream Cheese Puff Pastries
- Lemon Layered Cake
- Grapefruit Bowls
- Spicy Mango Popsicles
- Easy Skillet Apple Crisp
If you make this Cherry Cobbler, let me know in the comment section below. I would love to hear what you think, or take a photo and tag me (@everylastbite_) on Instagram. I love seeing your photos!
Cherry Cobbler
Ingredients
Filling
- 6 cups cherries halved and pitted
- 1 tbsp honey
- ¼ cup corn starch or arrowroot powder
- ½ tsp cinnamon
- 2 tbsp lemon juice
- ½ tsp salt
- 1 tsp vanilla extract
Topping
- 1 cup flour
- ¼ cup white sugar
- 2 tsp baking powder
- 1 tsp cinnamon
- ½ cup cold butter cut into small cubes
- ¼ cup warm milk
Instructions
- Preheat the oven to 375 degrees.
- To a baking dish approximately 9 x 13 in size add all of the filling ingredients and stir with a spatula until well combined. Transfer the baking dish to the oven to cook for 10 minutes while you prepare the topping.
- In a large mixing bowl stir together the flour, sugar and cinnamon. Add in the butter and use a fork or pastry cutter to blend the butter into the flour mixture. Once well incorporated add the warm milk and stir for approximately 1 minute until everything is well mixed into a batter consistency.
- Remove the baking dish from the oven. Using a spoon scoop out spoonfuls of the batter and place them ontop of the cherries so they are spread out evenly over the baking dish. At this point i like to use the bake of a spoon to gently press down on the mounds of batter to flatten them slightly.
- Transfer to the oven to bake for 30-35 minutes or until the biscuit topping is cooked through and golden brown in color.
Nutrition
Nutrition information is automatically calculated, so should only be used as an approximation.

Tried This Recipe?
Leave a comment below and let us know how it was!